Ginger beer has a slightly misleading name. Despite what it's called, it isn't beer in the usual sense: there's no malt and no hops. It's a fermented drink made from ginger, sugar and water.
And to get it fermenting, you use a small liquid starter: the ginger bug.
It works rather like a sourdough starter for bread. You feed a mixture of ginger, sugar and water for a few days until it becomes active and starts producing bubbles. After that, you just take a small amount of it to kick off the fermentation of the drink.
Step 1: making the ginger bug
To start, you simply need:
- fresh ginger, organic;
- sugar;
- filtered or unchlorinated water;
- a jar;
- a piece of cloth or a coffee filter;
- an elastic band.
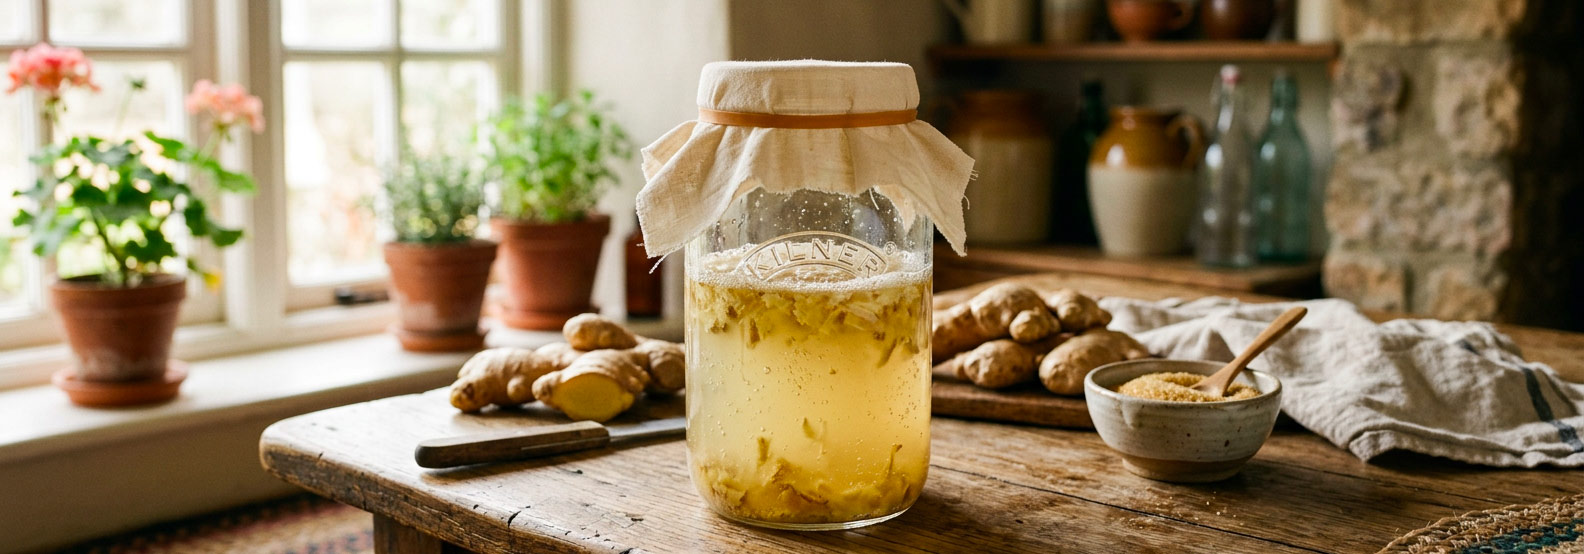
I keep the skin on the ginger and grate it.
In the jar, I mix:
- about 25 g grated fresh ginger;
- 25 g sugar;
- a little unchlorinated water.
Then I cover the jar with the cloth, held in place by the elastic band. The mixture stays at room temperature, somewhere fairly warm but out of direct sunlight.
Why organic ginger, and why keep the skin on
It's the wild yeasts living on the skin of the rhizome that do all the work. Conventional ginger is often treated to stop it sprouting, and that alone can be enough to prevent the ginger bug from ever starting. For the same reason, you don't peel it: that's where the micro-organisms you're trying to wake up are living.
Then you feed it every day
For several days, I add fresh ginger and sugar daily.
The ginger bug gradually comes to life. Fine bubbles appear, sometimes a little foam on the surface, and a faintly fermented smell.
Depending on the room temperature, this can take 4 to 6 days, sometimes more than a week when it's cool. Once it bubbles consistently, it's ready.
It's rather entertaining: after a few days you genuinely feel the jar has come alive.
Can you keep your ginger bug?
Yes. Once established, it can be kept and reused to make other fermented drinks.
At room temperature it needs regular feeding with ginger and sugar. If you don't want to use it straight away, you can put it in the fridge and space out the feedings.
Before using it again after time in the cold, I prefer to bring it back to room temperature and feed it for a day or two, until it's bubbling properly again.
Step 2: making the ginger beer
Once the ginger bug is active, you can move on to the drink itself.
For about 1 litre
- 2 tablespoons grated fresh ginger;
- 100 g sugar;
- 1 litre unchlorinated water;
- about 60 to 100 ml of active ginger bug.
The amount of ginger bug doesn't need measuring to the millilitre. What matters is that it's properly active.
Making the ginger infusion
I start by heating about 500 ml of water with the grated ginger. I let it simmer for around 15 minutes, then take it off the heat.
I add the sugar and stir until it's completely dissolved, then top up with the rest of the water.
And then you have to wait. The mixture must be completely cold before adding the ginger bug, so as not to kill the yeasts and bacteria responsible for the fermentation.
Adding the ginger bug
Once the mixture is back to room temperature, I add the active ginger bug and stir gently.
You can then let the drink ferment for about 24 to 48 hours, at room temperature and out of direct sunlight. Small bubbles gradually appear. That's the sign fermentation has started.
Straining, then bottling
When the drink starts to fizz, I strain it to remove the ginger. It can then go into bottles.
And this is where you need to pay close attention. Fermentation carries on in the bottle and produces carbon dioxide. In a sealed bottle, that gas raises the pressure, and an unsuitable bottle can quite literally explode.
Bottles: the only real danger in this recipe
Use bottles designed for pressure: swing-top lemonade bottles, or beer bottles with a capper. Never a jam jar, never a wine bottle, never some container picked up at random.
The safest trick: bottle one portion in a plastic bottle, alongside the others. The plastic is your pressure gauge. As long as it gives under finger pressure, the pressure is reasonable. When it feels as hard as a new bottle, it's time to move everything to the fridge.
And burp the bottles once a day: open one for a second, let the gas out, close it again.
The second fermentation in the bottle usually takes 12 to 48 hours depending on temperature. After that, into the fridge: the cold slows fermentation right down without stopping it entirely.
Once chilled, the drink keeps for several weeks, but it carries on developing slowly. Always open it over the sink.
A naturally sparkling drink
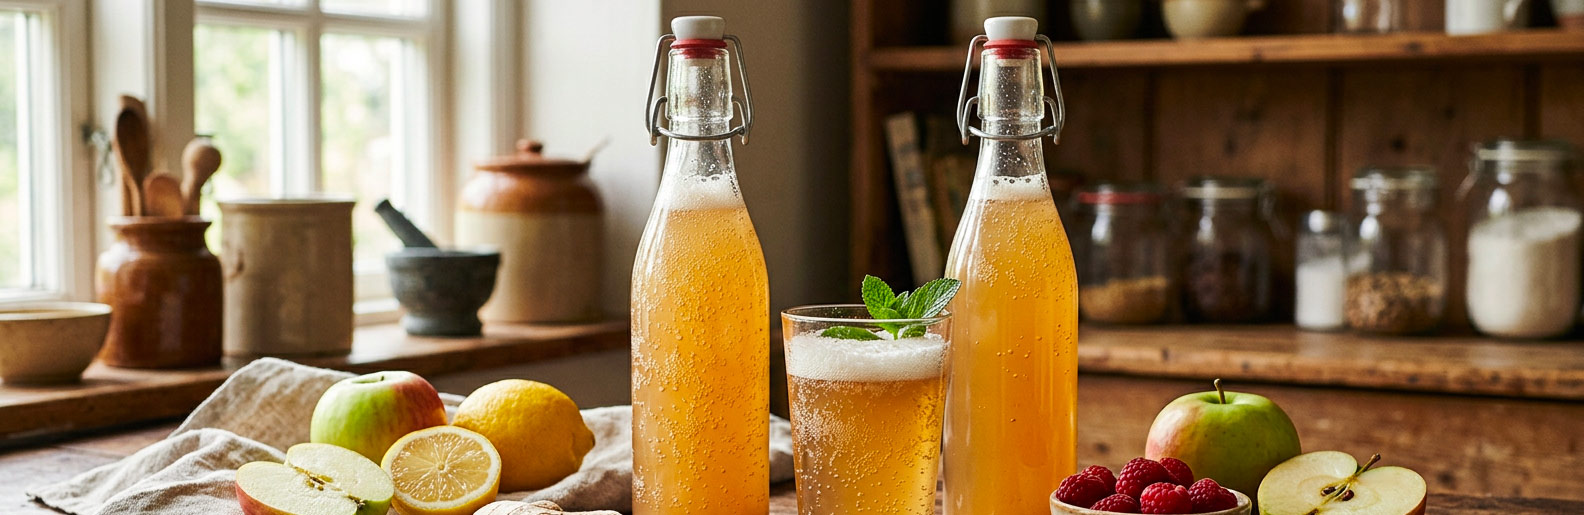
The result is a fresh, gingery, lightly sweet and naturally effervescent drink.
Its flavour can change from batch to batch. The longer it ferments, the more of the sugar the yeasts consume, and the more the drink evolves.
That's also why it's hard to give a precise alcohol content for homemade ginger beer: fermenting sugar with yeast produces alcohol, even when the drink is made to stay light and lightly fermented.
So I wouldn't present it as a guaranteed alcohol-free drink. Worth bearing in mind if you're serving it to children, or to anyone avoiding alcohol for any reason.
And then you can flavour it
This is probably my favourite part. Once you have the basic ginger beer, there are plenty of ways to vary it.
Lemon ginger beer
For 1 litre of ginger beer:
- the juice and zest of one lemon;
- about 1 tablespoon of sugar.
Lemon sharpens the ginger and makes for a far fresher drink.
Apple ginger beer
For a gentler version:
- 750 ml ginger beer;
- 250 ml pure apple juice;
- about 1 teaspoon of sugar.
Apple rounds off the ginger and naturally adds sugars that can restart the fermentation.
And why not...
Raspberry, lime, herbs or spices. Once the ginger bug is working, you can amuse yourself making a great many different drinks through the seasons.
Just bear in mind that adding fruit or sugar restarts the fermentation strongly, and therefore raises the pressure in the bottle. It's precisely with these flavoured versions that accidents happen: watch them more closely than the plain one.
A few simple precautions
Home fermentation isn't complicated, but it does call for some attention. What I keep in mind:
- work with very clean jars, bottles and utensils;
- use unchlorinated water;
- never add the ginger bug to a still-warm mixture;
- throw out anything with a frankly unpleasant smell, mould, or an abnormal appearance;
- use bottles built to take pressure;
- refrigerate once the fizz you want is there;
- open bottles slowly, especially in warm weather.
Hygiene is an important part of all home fermentation, because it limits the introduction of unwanted micro-organisms.
A very simple fermentation to begin with
What I like about ginger beer is that it lets you actually watch fermentation at work.
"You start with three very simple things, ginger, sugar and water, and a few days later the ginger bug is fizzing."
Then that little starter can serve again and again. And once you've grasped the principle, you immediately want to try things: lemon, apple, raspberry.
It's exactly the sort of recipe where the kitchen quickly starts to resemble a small laboratory.